Before landing on a camera, I researched what makes film look like film. Long story short, I discovered an inverse relationship between digital and film.
- Film holds highlight detail incredibly well, while digital holds shadow detail. This is because the two mediums record light on a fundamentally different level. Silver halide in the film stock require a certain amount of photons (aka, threshold) to activate the chemical process for recording an image. Conversely, digital starts with a maximum threshold of photons and keeps reading less and less photons until the next exposure.
- Film has grain, digital is clean. A no brainer, but definitely a distinguishing quality of emulsion that naturally occurs within film. At optimal settings (IE: native ISO or less), digital is clinically clean.
My sources of research were: How Video Works by Weise and Weynand, ASC Manual 10th Edition, Cambridge in Color, and working colleagues.
The inverse relationship between digital and film gave me an idea to use it to my advantage.
Colleagues recommended I check the work of Harris Savides, specifically Birth and The Yards, and of Jody Lee Lipes in Martha Marcy May Marlene. Both cinematographers severely under-exposed the negative and pushed them back in the lab. The resulting effects were seamless highlights and quick to black shadows. As a viewer, it gave an unsettling experience (Birth) and a worn old feeling (Martha).
We originally wanted to shoot on film because the story took place in the 1960′s. We wanted the image to look like an old home movie found in your grandmother’s attic. Little care to the emulsion with grain, milky shadows, and soft highlights. I figured, based on the work of Savides and Lipes, I could play with underexposure to make my digital camera mimic film.
Our budget allowed for the Alexa Mini. The ARRI series of digital cameras looks like film straight out of the box which was an incredibly helpful starting point. However, I didn’t believe the camera at base settings was enough; I wanted more of a filmic response to light. I decided to play with the ISO.
Our budget allowed for the ARRI Alexa Mini. The ARRI series of digital cameras looks like film straight out of the box which was an incredibly helpful starting point. However, I didn’t believe the camera at base settings was enough; I wanted more of a filmic response to light. I decided to play with the ISO.
ISO (International Standards Organization), ASA (American Standards Association), or gain (measured in DB) are simply arbitrary units of measurement for a camera’s sensitivity to light. Most digital cameras are rated in ISO, but ASA is the same measurement.
For many new cinematographers and filmmakers, changing ISO means the camera is more/less sensitive to light; great for dark locations that low budget films are forced to use. Changing ISO may be save the day on set, but can be deadly later in post.
The native ISO is determined by the camera manufacturer to be the most equal distribution of detail above and below proper exposure (18% grey). Theoretically, a camera with 12 stops of dynamic range at native ISO will have 6 stops of detail in the shadows and 6 stops of detail in the highlights.
The camera is only sensitive to a certain amount of light, whether it is a lot or a little. The dynamic range is based on this, which then the native ISO of a camera is determined.
When a DP deviates the ISO from the native ISO, they’re not making the sensor more sensitive, but interpreting the data differently. For a rough example, if I decrease my ISO by two stops, then I lose two stops of detail in my highlights and gain two stops of detail in my shadows. The following graph is a visual representation of what I’ve described (assuming 800ISO is the native ISO for a hypothetical camera):
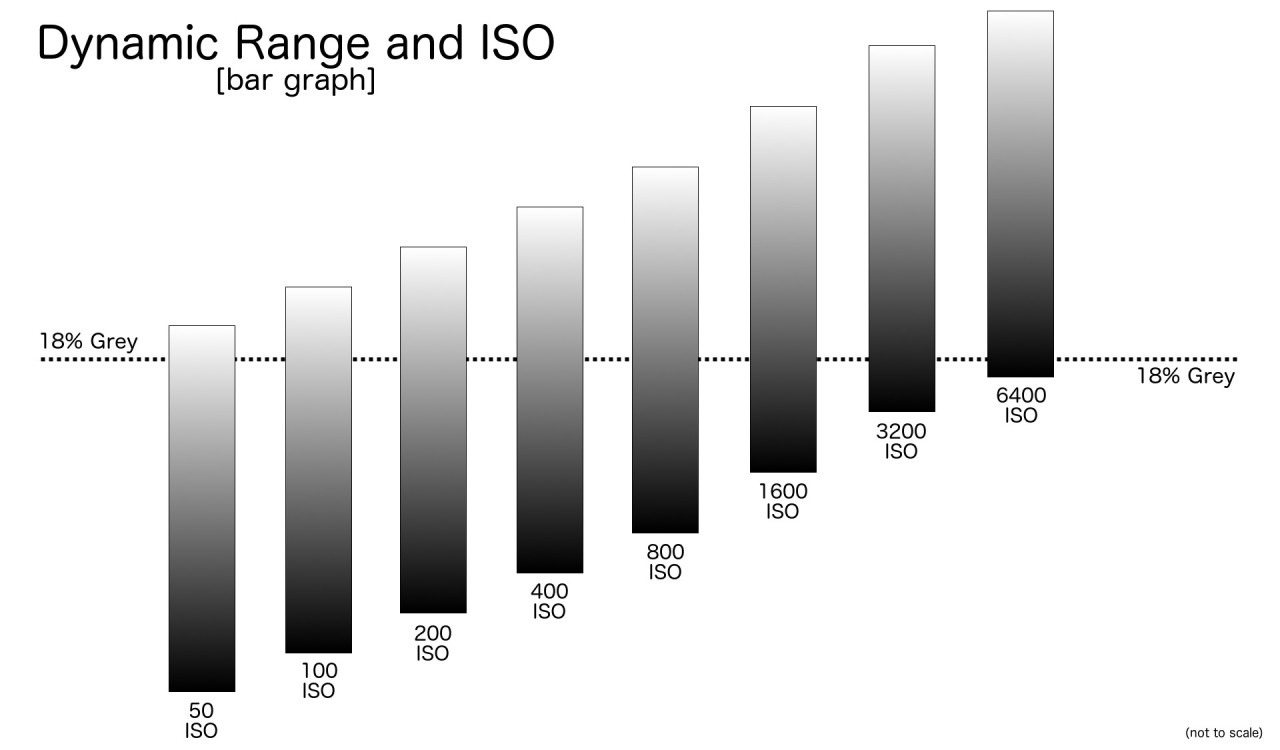
Film is the same way; pushing/pulling the film stock in the lab doesn’t make the emulsion see more, it just interprets the latent image differently.
I entered the camera tests with a clear direction: how can I best shift my dynamic range into the highlights?
Testing was done at AbelCine Burbank, who supplied the camera package for the entire feature. I shot a grey card and color chart at various under exposures at various ISO’s. (For a control group, I recorded the native ISO as well) Then, on site, I threw them into DaVinci and pushed the images back up to proper exposure. In comparison to the control group, I chose six different under exposures to take with me out into the field with my actors.
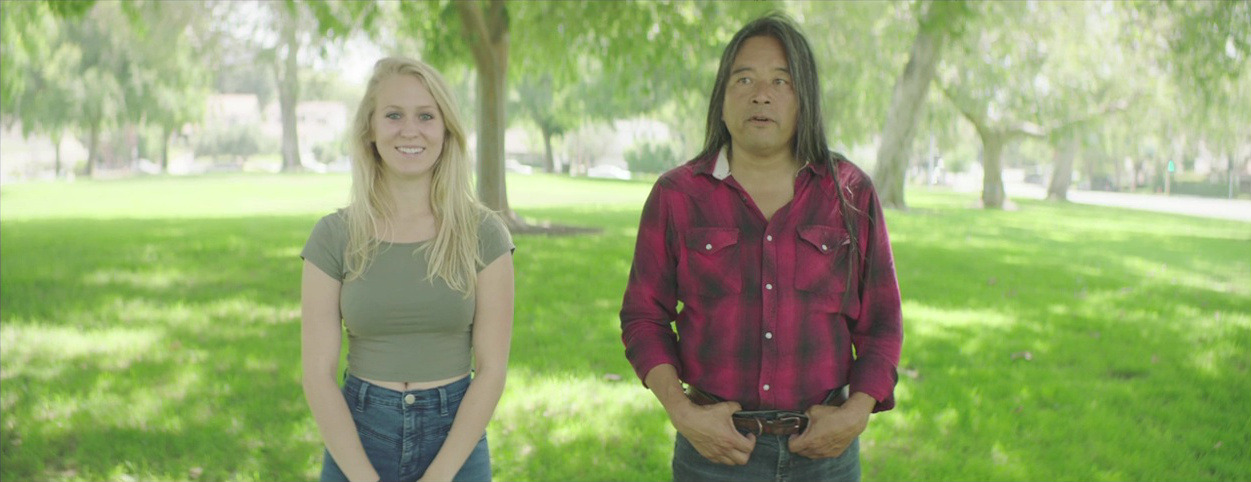
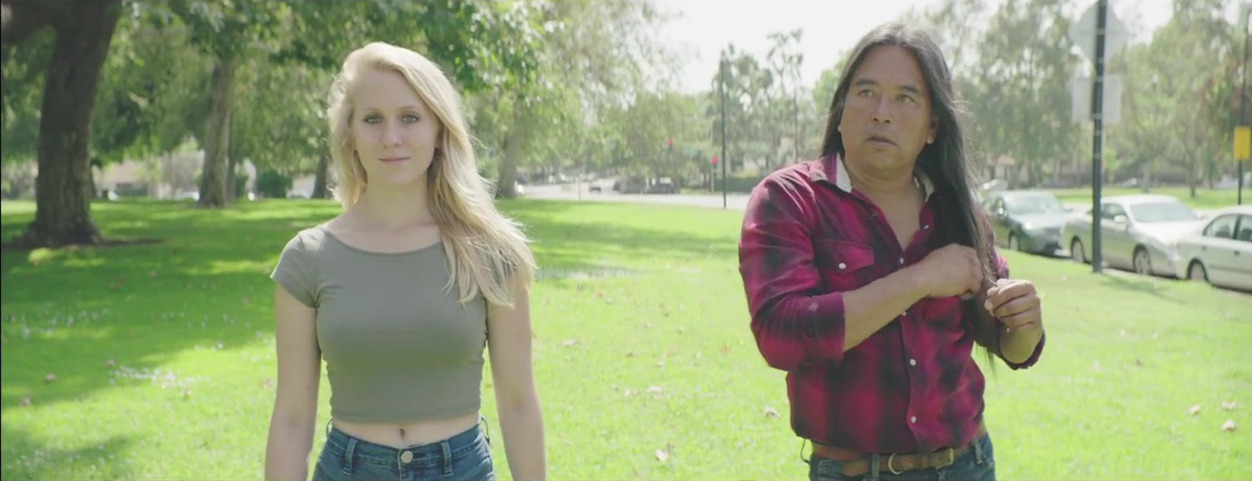
I couldn’t get the original actors for the camera tests (because both were in two separate states). Instead, I got the help of two friends (Kelly and Zak) who closely matched the look, skin tone, and hair color of the main cast.
You can watch the test results here: YouTube Playlist
The following are some stills of the test results:
Full Shade
Sun as edge light

Sun as key light
On location, I seemed to favor the 1600ISO under exposed by two more stops, effectively under exposing the image three stops in total. It looked great in complete shade and when the sun was the edge light, but completely fell apart when the sun was the key light. That was to be expected, however, because the contrast between the highlights and shadows is extreme. Having little to no information in the shadows renders VERY milky blacks in such a high contrast situation.
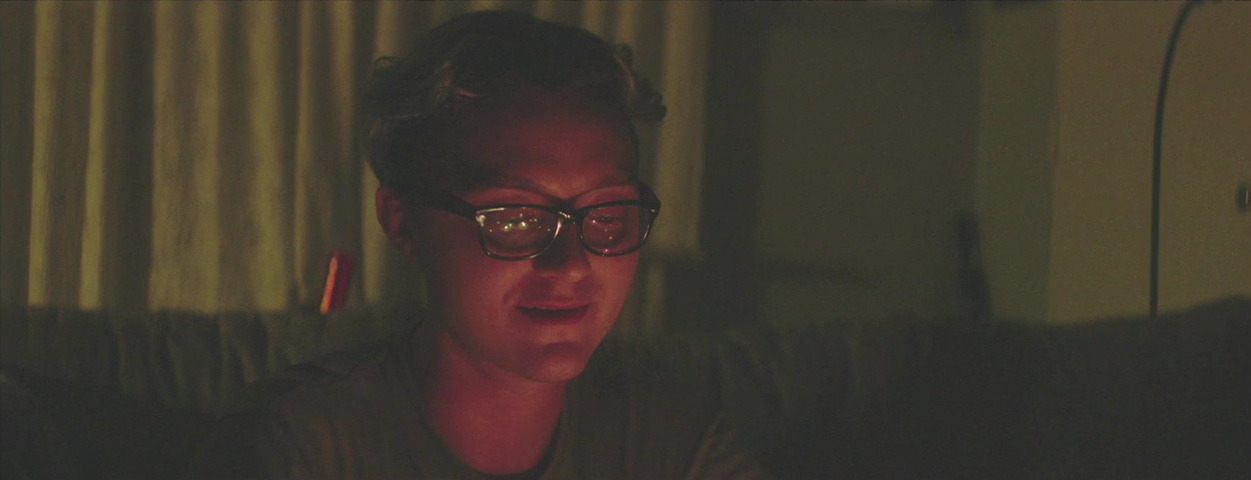
I also tested at night with my friend Chris. Some scenes feature candle light:
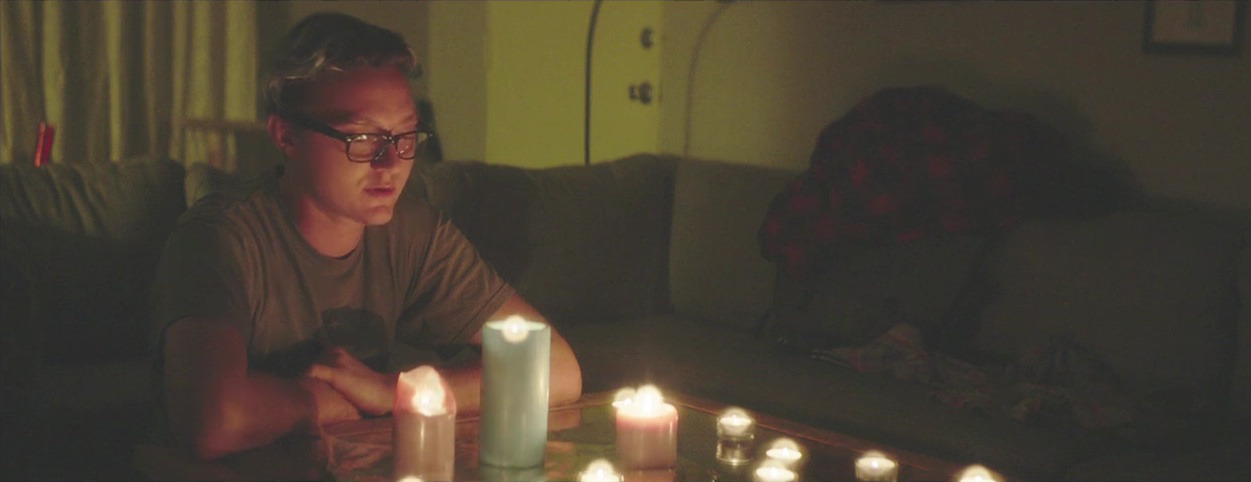
(NOTE: This still has a 1/2 BPM Filter on)
(NOTE: This still has a 1/2 BPM Filter on)
Barri and I screened the results on a DCP projector and agreed that 1600ISO -2 would be the be ideal look for the film. Needless to say, the end results were fantastic when we entered production. I LOVED the images we were getting.
There were some downsides to this look that essentially was baked into the image:
- Little to no shadow detail - Naturally, in the color grade some shots (or parts of a shot) were too dark. Pulling exposure from the shadows yielded a lot of noise. It was also sometimes impossible to pull anything from the shadows if it was beyond 2 stops under exposed from our settings.
- Color bounce - Because of the shooting ISO of 6400 (1600IS - 2), I generally needed to use less lights. However, the sunlight bounced a lot of green color onto my subjects’ faces. It’s not because the color information fell apart with such a look, it’s because the green colors of the forest were bouncing green light when the sun hit them. This happened a lot.
- IR Pollution - The high ND filtration needed for the daytime shooting could result in IR pollution. Thankfully, the Alexa Mini’s built in filters were designed for this, but became a concern during the sand dune scenes.
- Noise - Inherently, this method creates a lot of noise. It looked perfect for us because we wanted a filmic grain, but could be troublesome for other filmmakers. The color of the noise was noticeable, so my colorist Nicole and I desaturated our shadows to try and eliminate the color from the noise
- S16 Mode - The Alexa Mini offers S16 mode, which crops the sensor to be S16 size. However, this made the noise BIG in the frame because the pixel elements were bigger in comparison to the normal 4k sensor.
I want to thank Zak Stonemover, Kelly Mis, Sara Clouse, Mike Stanislawski, Gabriel Mays, Jayson Crothers, Tai-lynia Jones, The Egyptian Theatre in Coo’s Bay, and AbelCine for helping me develop this look in prep and proceed with the testing.
I can’t wait to share the final results with the world! Stay tuned!